Was about to ask the same thing as portofacil about ensuring both @ and www are Apex records and not CNAME, however below is a step-by-step process which may prove useful:
Rather than using the simple “Pause” option in CloudFlare, navigate to the DNS tab, and toggle the cloud icon to gray instead of orange for the two A records @ and www so they don’t resolve through the reverse proxy.
CloudFlare uses anycast so it shouldn’t take very long to propagate (usually < 30 seconds), however you should use a lookup tool such as http://nwtools.com to do a DNS records check on your domain. Once you see the actual IP of the origin server showing up, and not those of CloudFlare, only then are you good to go for setting up Let’s Encrypt.
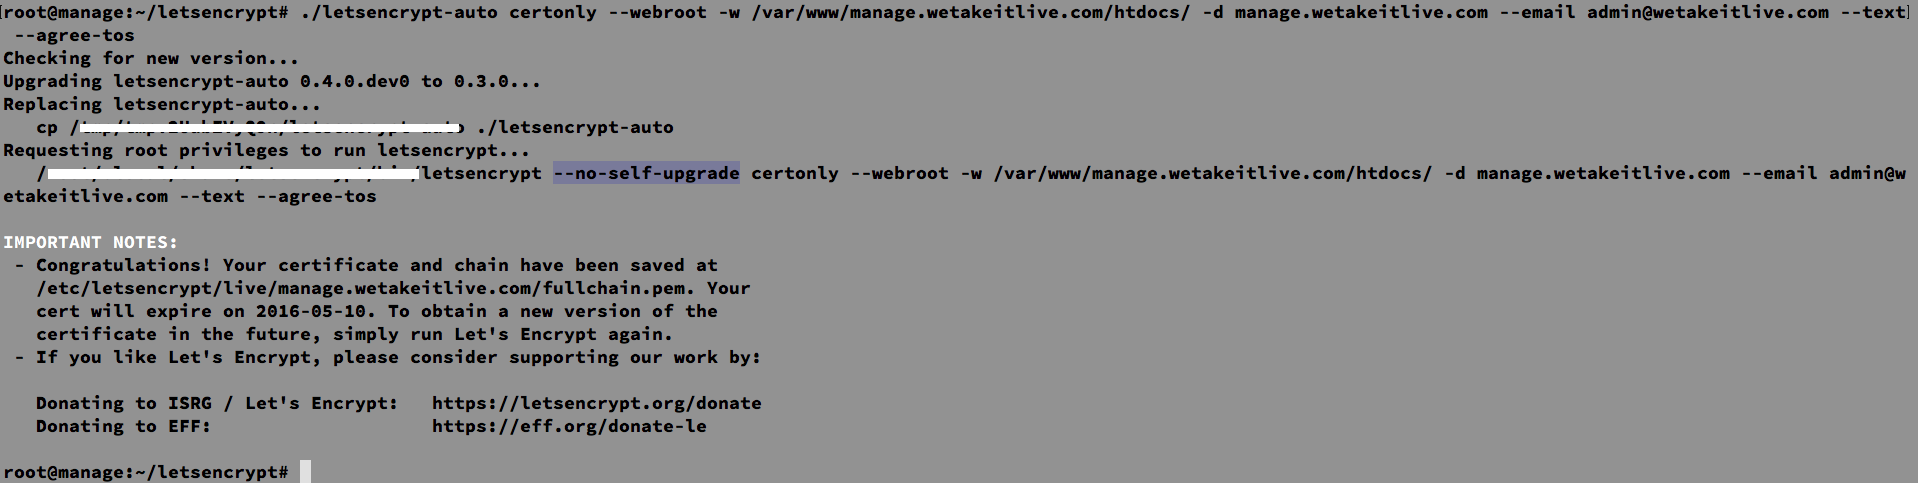
Assuming you’ve set up LE via the ee site update mydomain.com -- letsencrypt command, ensure you can access your website and it uses HTTPS correctly, and also ensure that you can login to the WordPress admin.
Head back to CloudFlare and first thing to do is goto the Crypto tab, enable HTTPS using the Full (Strict) option. Also ensure you turn off Automatic HTTPS Rewrites as nginx handles this. I’ve found disabling the Always On feature helps too in some very fringe cases although it’s always off for me as I personally prefer a blank page to CF’s glaring error page anyway. I also usually have no need for the Authenticated Origin Pulls, Opportunistic Encryption, TLS 1.3 BETA options for most websites I create but YMMV.
Finally, head to the DNS records tab and toggle the orange cloud for your @ and www records back to the on position. Then go back to http://nwtools.com and verify that your domain is using CloudFlare’s IP’s, and check recheck your website in the browser to make sure it works the same now that it’s being served by CloudFlare with the LE SSL passthrough.
Hope it helps!